How to Create a Summer-Themed Teen Bedroom Vanity Setup on a Budget for Father's Day Gift Ideas
How to Create a Summer-Themed Teen Bedroom Vanity Setup on a Budget for Father's Day Gift Ideas
If you're a parent looking for a gift that keeps giving—or a teen ready to finally claim your own beauty space—a well-designed vanity setup is honestly one of the best investments you can make. I've helped set up at least two dozen teen vanities over the years, and I can tell you that the difference between a chaotic pile of makeup on a dresser and an organized, properly lit vanity is game-changing. Not just for the 15 minutes before school, but for the whole self-care ritual. Summer is the perfect time to tackle this project—you've got time to research, shop sales, and actually enjoy the process without back-to-school panic.
Here's what I've learned: you don't need to spend hundreds of dollars to create a vanity that actually works. You need to be smart about what you buy, understand the difference between pretty and functional, and know exactly what size and capacity will work in your actual space. This guide breaks down the exact steps I take when setting up a teen vanity—from choosing the right desk to selecting lighting that won't make anyone look like they're at an interrogation. By the end, you'll know exactly what to buy and why.
Table of Contents
- Step 1: Measure Your Space and Choose Your Vanity Desk
- Step 2: Select the Right Lighted Mirror for Your Needs
- Step 3: Create a Tiered Storage System with Acrylic Organizers
- Step 4: Add a Beauty Mini Fridge for Summer (Optional But Smart)
- Step 5: Implement the Summer Color Palette and Final Touches
- Budget Breakdown and Where to Splurge vs. Save
Step 1: Measure Your Space and Choose Your Vanity Desk
Before you buy anything, measure. Seriously. I cannot tell you how many times I've ordered a "compact vanity desk" that arrived and absolutely didn't fit through a doorway or left zero walking space in a small bedroom. Measure the wall where you want the vanity, measure the available floor space, and measure the doorways and hallways anything has to pass through. Most teen bedrooms are 10x12 feet or smaller—you're not working with much real estate.
For a true small bedroom vanity, I recommend desk dimensions between 35 and 48 inches wide. That gives you enough surface area for a mirror, a few daily-use products, and a small organizer without eating up half your room. A 36-inch desk with a 4-inch depth is my sweet spot for small spaces—deep enough to hold essentials, not so deep that it blocks movement. Look for desks with built-in shelving or drawers below the work surface; this is crucial. Open desk surface only equals clutter migration within weeks. I've learned this the hard way.
Material matters too. Particleboard is cheaper but warps under humidity—terrible for a bathroom-adjacent vanity or if you live in a humid climate. Solid wood or quality plywood is worth the extra $30-50. Metal frame desks are durable and modern, fitting perfectly with summer aesthetic goals. Budget expectation: $80-180 for a functional, well-made desk. Less than $80 and you're taking a risk on stability; more than $200 for a basic teen desk is overspending.
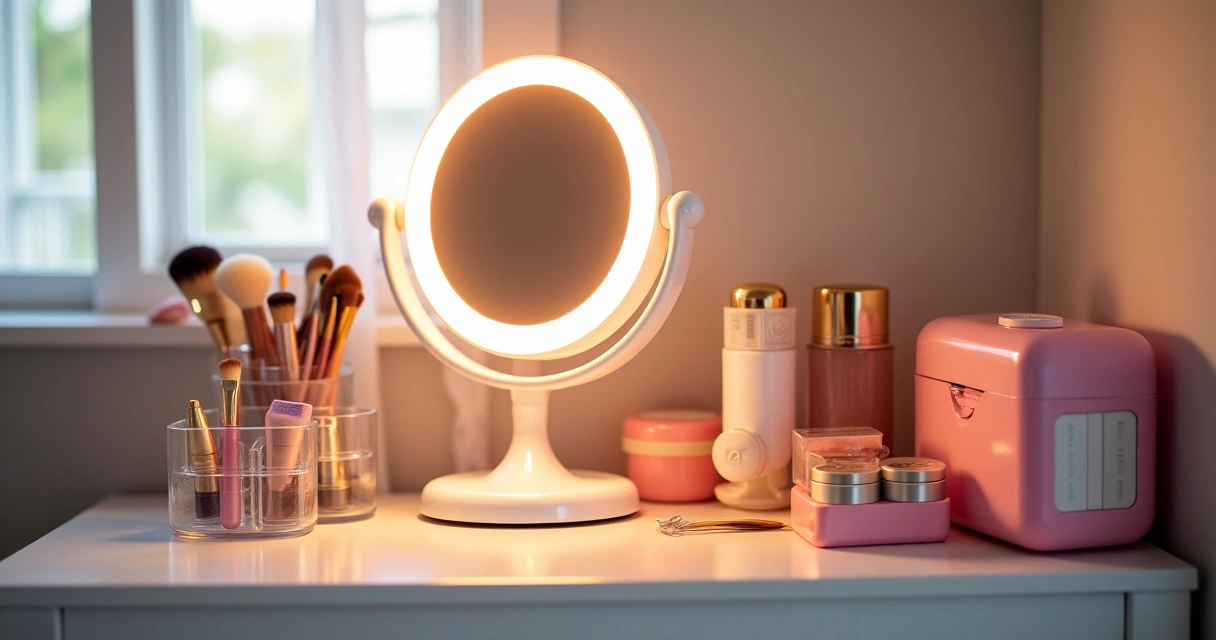
Step 2: Select the Right Lighted Mirror for Your Needs
Lighting is the difference between a vanity that actually gets used and one that becomes clutter storage. Natural light is great, but inconsistent—and no one does makeup at 6 a.m. in winter light. You need dedicated vanity lighting. The two main options are vanity mirrors with built-in lights or a separate desk lamp paired with a regular mirror.
Built-in lighted mirrors are convenient but come with real tradeoffs. Most affordable options (under $60) have cheap LED bulbs that cast a yellow or blue tint, making makeup application sketchy. You'll end up looking fine at home and weird in natural light. Mid-range lighted mirrors ($60-120) have better color accuracy and adjustable brightness—these are the ones I actually recommend. Look for "daylight" or "5000K" color temperature on the label. Mirror size matters too: 20-24 inches wide is practical without dominating a small desk. Anything larger feels like furniture and takes up serious table real estate.
Alternatively, skip the fancy mirror and invest in a $15-25 quality tabletop mirror paired with a real desk lamp (15-30 watts, daylight bulb). This costs less overall, gives you more flexibility, and honestly produces better lighting. You can position the lamp exactly where you need it, and if a bulb burns out, you're replacing a $5 bulb, not scrapping a $100 mirror. For summer aesthetics, look for brass, rose gold, or natural wood lamp bases.
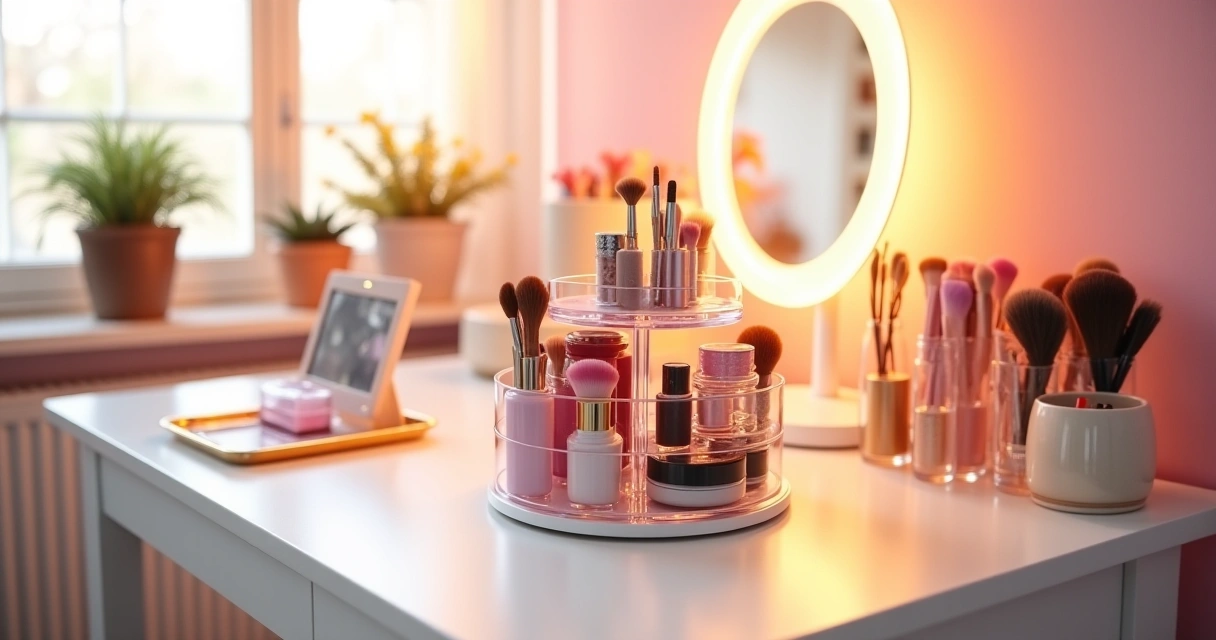
Step 3: Create a Tiered Storage System with Acrylic Organizers
This is where the magic happens. Acrylic organizers are budget-friendly, stackable, and transparent (so you can actually find things). But here's what I've learned: cheap acrylic looks cheap and scratches if you breathe on it wrong. Invest in mid-grade acrylic from brands like Muji or The Container Store; it's thicker, more durable, and worth every penny. Expect to spend $8-15 per organizer piece.
Create three tiers of storage: (1) daily essentials in one small drawer or cube—lipstick, concealer, mascara, whatever is used every single day; (2) weekly rotation items in mid-sized containers—face products, blushes, setting spray; (3) occasional use and backup stock in larger containers under the desk or on shelves. This tiered approach prevents a makeup explosion on the desk surface while keeping your most-used items within arm's reach. For a typical teen, daily essentials fit in a 4x4x3 inch container. Don't overestimate this—bigger organizers just get junk. One standard-sized acrylic organizer unit with 2-3 drawers plus 2-3 stackable cube containers will hold makeup for one person comfortably.
Pro organization detail: label everything. Use a small label maker or waterproof stickers. It takes 10 minutes and prevents the "where did the primer go?" chaos that happens by late August. Also, organize by category (face, lips, eyes, tools) not by product type or brand. This is how you actually use things instead of discovering a lipstick you forgot you owned at the back of a drawer.
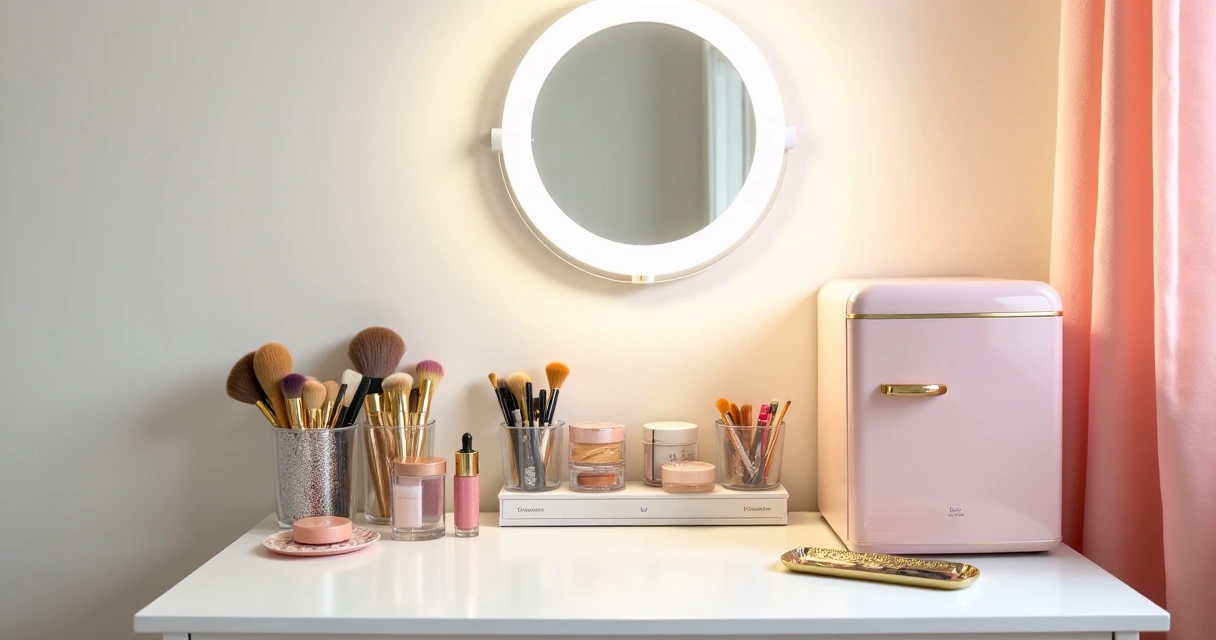
Step 4: Add a Beauty Mini Fridge for Summer (Optional But Smart)
A mini fridge for beauty products is one of those things that sounds frivolous until you realize how much better your skincare actually works when it's cold. Eye creams, jade rollers, sheet masks, and even certain serums perform better chilled. Plus, there's something psychologically satisfying about opening a tiny fridge during a morning routine—it makes getting ready feel like a ritual instead of a chore.
Here's the real talk: you don't need to spend $200. A 4-liter USB-powered mini fridge ($25-40) works perfectly for a teen beauty setup and plugs into a standard outlet or USB port. It holds about 8-12 items comfortably: eye masks, serums, face mists, spot treatments. It's not suitable for full-size bottles—be realistic about capacity. The benefit is mostly psychological comfort and a slight performance boost for gel eye patches and cooling serums on hot summer mornings. If your budget is tight, skip this. If you're looking for something that makes the vanity feel elevated and special, this is your splurge.
Placement matters: mini fridges generate a tiny bit of heat, so don't put it directly against a wall or in a closed cabinet. A corner of the vanity desk or on a small adjacent table works fine. Make sure the door opens fully without hitting anything—sounds obvious, but I've seen this fail in narrow spaces.
Step 5: Implement the Summer Color Palette and Final Touches
Summer-themed vanity aesthetics don't require spending more money—they require thoughtful color coordination. Summer palettes typically include whites, creams, soft pastels, natural wood tones, and accents of coral, peach, or soft turquoise. When you're choosing organizers and desk accessories, stick to 3-4 colors maximum. I recommend: natural wood or white as your base, one warm metallic (brass or rose gold for lighting and hardware), and one soft accent color (pale pink, peach, or seafoam for organizers or a small rug).
Real practical touches: (1) A small 2x3 foot washable rug anchors the space and adds color without permanent commitment. ($15-25) (2) A small potted plant or faux greenery brings summer vibes and costs nothing if you already have one. (3) Floating shelves above the vanity desk (if allowed in the rental) add storage and display space for aspirational bottles and pretty jars. ($20-40 for simple wood shelves) (4) A small wireless Bluetooth speaker makes the morning routine infinitely better. ($20-40) (5) Soft lighting—a string of small lights or a lamp with a dimmable feature—makes the space feel like self-care, not a bathroom counter.
Don't fall into the Pinterest trap of matching everything perfectly. Real, functional vanities have some mix of styles and brands. The goal is coordinated, not identical. When organizing, leave negative space—don't fill every inch. A beautiful, organized vanity has breathing room. It's not just about what's there; it's about what's not.
Budget Breakdown and Where to Splurge vs. Save
The Smart Budget Breakdown (Total: $250-400): Vanity desk, $100-150 (non-negotiable—buy quality); lighted mirror or lamp setup, $40-80 (okay to go budget here if necessary); acrylic organizers, $40-60